

Section 1.3: Export the grid to the Kiva-3V format
Step 1: Multiblock Mesh conversion
The mesh has to be first converted in a multiblock mesh: right click on the Pre-Mesh from the blocking Display Tree menu and click on: Convert to Multiblock Mesh.
Step 2: Select the Kiva 3V solver
Once the Multiblock mesh is created from the Output menu, click on Select Solver and select KIVA-3(V) and then Apply.
Step 3: Family boundary conditions
Click on boundary condition and a window will appear where it is possible to set all the necessary boundary conditions. For the family “GEOM” that includes all the walls specify the BCx 2.0, and for the volume family “SOLID” specify the vertex (FV) squish 4.0, idface notmoving (-1) and the Region (REG) 1.
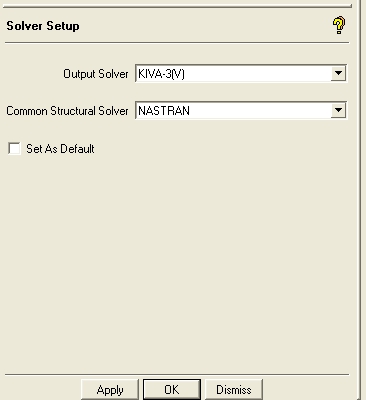 Fig. 1.12 Select the solver |
 Fig. 1.13 Family boundary conditions |
Step 4: Output mesh
Click on Write Input, choose all domains and then select the project1.Multiblock. In the KIVA3 window select KIVA-3V output type and click done. In the project working directory a file named kiva3.tape17 is then created. Rename that file to itape17 and then put the file in your kiva calculation directory.

![]()
![]()

